Welcome to the exciting world of smart home automation! As the driving force behind QMSIT.com for over a decade, I’ve witnessed firsthand how smart technology transforms daily living. Today, we’re diving deep into the Meross smart switch, a popular choice for homeowners looking to upgrade their lighting with intelligence and efficiency without breaking the bank. Whether you’re new to smart homes or a seasoned enthusiast, Meross offers a compelling blend of affordability, reliability, and broad compatibility that makes smart lighting accessible to everyone.
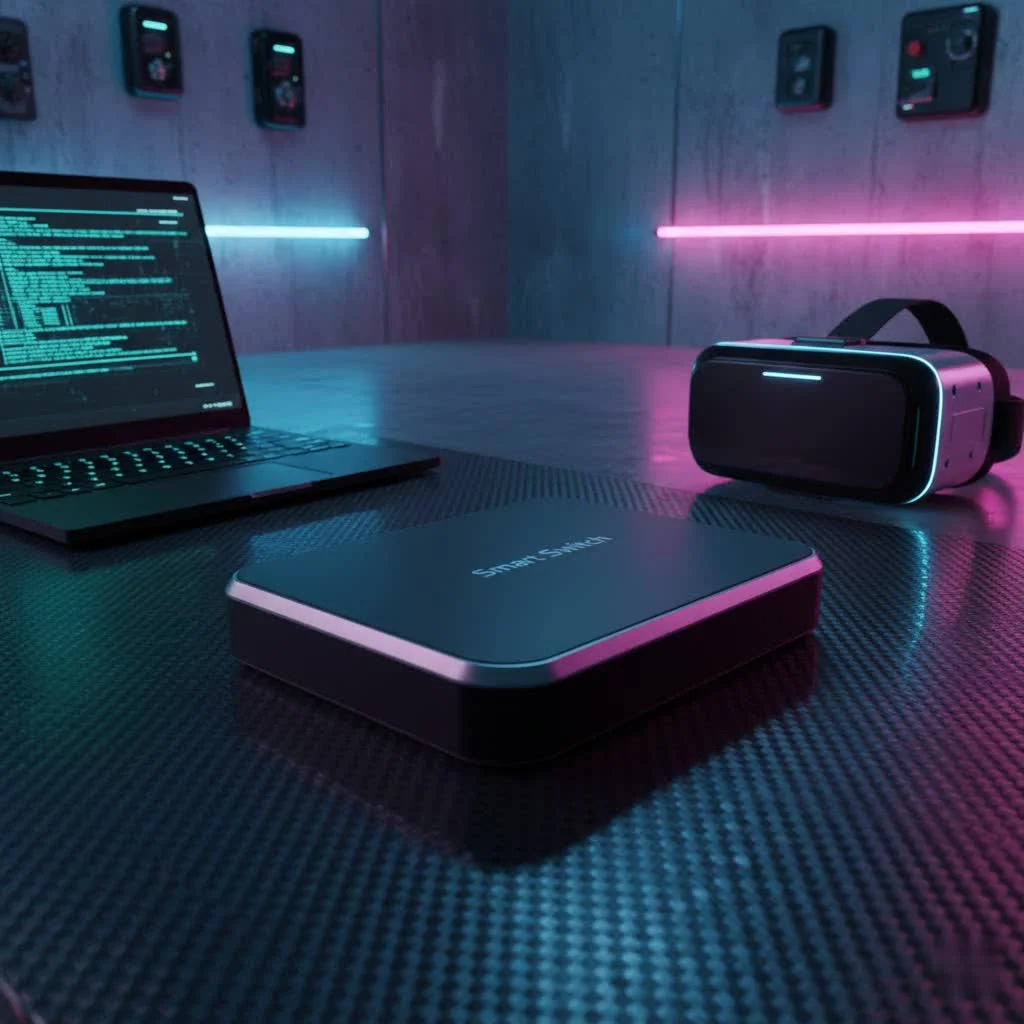
Understanding Meross Smart Switches: What Makes Them Tick?
A Meross smart switch isn’t just an on/off button; it’s a gateway to a more convenient, energy-efficient, and responsive home. These innovative devices replace your traditional wall switches, allowing you to control your lights remotely via a smartphone app, voice commands, or automated schedules. Imagine turning off the lights downstairs from your bedroom, or having your porch light automatically illuminate as you arrive home after sunset. That’s the power a Meross smart switch brings to your fingertips. For more smart home guides on this site.
Why Choose Meross for Your Smart Lighting?
Meross has carved out a significant niche in the smart home market, primarily due to its commitment to user-friendly, high-performance, and budget-friendly solutions.
- Affordability Meets Quality: Meross consistently delivers products that offer exceptional value, making smart home upgrades more accessible. Donoss’ switches are often praised for solid functionality at a lower cost compared to many competitors.
- Hub-less Design: One of Meross’s biggest advantages is that most of its smart switches operate directly over your home’s 2.4GHz Wi-Fi network, eliminating the need for a separate smart home hub. This simplifies setup and reduces clutter.
- Broad Compatibility: Meross smart switches play well with others. They are widely compatible with major smart home ecosystems, including Apple HomeKit, Amazon Alexa, Google Assistant, and SmartThings, and are increasingly supporting Matter, ensuring they fit seamlessly into your existing setup. This means you can control your lights using your preferred voice assistant or smart home app.
- Responsive and Reliable: Users frequently report quick response times and stable performance from Meross devices. While no technology is infallible, Meross generally provides a reliable experience for everyday smart lighting control.
- Variety of Options: From standard single-pole switches for basic on/off control to 3-way switches for controlling lights from multiple locations and dimmer switches for setting the perfect ambiance, Meross offers a range of options to suit various household needs.
Types of Meross Smart Switches
Meross provides several types of smart switches to replace almost any traditional switch in your home:
- Single-Pole Switches (e.g., MSS510): These are the most common type, controlling a light fixture from a single location. Perfect for upgrading individual lights in bedrooms, bathrooms, or closets.
- 3-Way Switches (e.g., MSS570): Designed for situations where one light fixture is controlled by two or more switches, such as in hallways or stairwells. Meross often offers these as a kit with a master and an add-on switch.
- Dimmer Switches (e.g., MSS560): These switches allow you to adjust the brightness of compatible light bulbs, offering fine-tuned control over your room’s ambiance.
Preparing for Installation: Safety First!
Before you even touch a wire, safety is paramount. Working with electricity requires caution and a clear understanding of the steps involved.
Tools You’ll Need
|
Our Picks for the Best Smart Switch in 2026
As an Amazon Associate I earn from qualifying purchases.
|
||
| Num | Product | Action |
|---|---|---|
| 1 | Leviton Decora Smart Switch, Wi-Fi 2nd Gen, Neutral Wire Required, Works with Matter, Alexa, Google Assistant, Apple Home/Siri & Wired or Wirefree 3-Way, D215S-1RW, White |

|
| 2 | Kasa Smart Light Switch HS200P3, Single Pole, Needs Neutral Wire, 2.4GHz Wi-Fi Light Switch Compatible with Alexa and Google Home, UL Certified, No Hub Required, 3 Count -Pack of 1 , White |
|
| 3 | Kasa Smart Switch 2-Gang HS200-2, Single Pole,Neutral Wire Required, 2.4GHz Wi-Fi Light Switch Compatible with Alexa and Google Home, UL Certified, No Hub Required, White |
|
| 4 | Kasa Smart Dimmer Switch HS220P3, Single Pole, Needs Neutral Wire, 2.4GHz Wi-Fi Light Switch Works with Alexa and Google Home, UL Certified,, No Hub Required, 3-Pack |
|
| 5 | Lutron Caseta 3 Way Smart Dimmer Light Switch Kit, Includes Pico Remote, Bracket, and LED Dimmer Switch, No Neutral Required, P-PKG1WB-WH |
|
| 6 | TREATLIFE Smart Light Switch Single Pole Works with Alexa, Google Home and SmartThings, 2.4GHz WiFi Timer Smart Switch, Neutral Wire Required, No Hub Required, FCC Listed, 4 Pack |
|
| 7 | GHome Smart Switches for Lights, WiFi Smart Light Switch Works with Alexa and Google Home, Single-Pole, Neutral Wire Required, 2.4Ghz WiFi Light Switch with APP Control, No Hub Required, UL FCC Listed |
|
| 8 | HALO Pure Smart Wi-Fi Dimmer Switch for Traditional Non-Smart Lighting, Connected by WiZ Pro, Hardwired 120V - SWW-DIM-WH |
|
| 9 | GHome Smart Switch, 3 Way Wi-Fi Light Switch Compatible with Alexa and Google Home, 2.4GHz Schedule Timer, Neutral Wire Required, 3-Way Installation, FCC Listed (4-Pack), White |
|
| 10 | Kasa Matter Smart Light Switch: Voice Control w/Siri, Alexa & Google Assistant, UL Certified, Timer & Schedule, Easy Guided Install, Neutral Wire Required, Single Pole, 2.4GHz Wi-Fi, 3-Pack |
|
Gathering your tools beforehand makes the installation process smoother:
- Screwdrivers (Phillips and flathead)
- Wire strippers
- Voltage tester (non-contact is highly recommended for safety)
- Wire nuts (Meross often includes these, but having extra is wise)
- Electrical tape
- Labels for wires (also often included, or use masking tape)
The Most Crucial Step: Turning Off the Power
This cannot be stressed enough: always turn off the power to the circuit at your main electrical breaker box before beginning any electrical work. Use your voltage tester to double-check that the wires are completely de-energized before proceeding. Flip the light switch a few times to confirm the power is off.
The Golden Rule: The Neutral Wire Requirement
Almost all Meross smart switches, like many other Wi-Fi smart switches, require a neutral wire in your electrical box to function correctly. The neutral wire (typically white) provides continuous power to the smart switch itself, even when the light is off. If your home is older or you live in an area with specific wiring standards, you might not have a neutral wire in every switch box. Always verify this before purchasing.
Ensuring Optimal Wi-Fi Coverage
Meross smart switches operate on the 2.4GHz band of your Wi-Fi network. Before installation, check that you have a strong, stable 2.4GHz Wi-Fi signal at the location of the switch. A weak signal can lead to connectivity issues and unresponsiveness.
Step-by-Step Installation of Your Meross Smart Switch
Installing a Meross smart switch is a straightforward DIY project for anyone comfortable with basic electrical tasks. If you’re ever unsure, it’s always best to consult a licensed electrician.
1. Physical Installation
- Turn off power: As discussed, switch off the corresponding circuit breaker.
- Remove the old switch: Unscrew and carefully pull your existing switch out of the wall box.
- Identify wires: You’ll typically find:
- Line (Live) Wire: Carries power from the breaker (often black).
- Load Wire: Carries power to the light fixture (often black).
- Neutral Wire: Completes the circuit, essential for smart switches (always white).
- Ground Wire: For safety (bare copper or green).
- For 3-way switches, you’ll also have “traveler” wires (usually red or black) that connect the two switches. Labeling your wires is incredibly helpful here.
- Disconnect and connect: Carefully disconnect the wires from your old switch. Connect the corresponding wires from your Meross smart switch using the included wire nuts. Ensure connections are tight and secure. For dimmer switches, ensure your bulbs are dimmable.
- Mount the switch: Gently push the wires back into the electrical box and screw the Meross switch into place. Attach the new faceplate (many Meross switches come with a clean, screwless snap-on plate).
2. App Setup & Connectivity
Once the physical installation is complete, it’s time to bring your Meross smart switch online.
- Restore power: Turn the circuit breaker back on. Your Meross switch’s LED indicator should start blinking, usually amber and green, indicating it’s ready for pairing.
- Download the Meross app: Install the official Meross app on your smartphone (available for iOS and Android).
- Add device: Open the app, create an account if you haven’t already, and tap the “+” icon to add a new device. Select your Meross smart switch model.
- Connect to Wi-Fi: Follow the on-screen prompts to connect the switch to your 2.4GHz home Wi-Fi network. If you have a HomeKit-enabled switch, the app will guide you through scanning the HomeKit code (often found on the switch itself or in the manual).
- Name and customize: Give your switch a recognizable name (e.g., “Living Room Overhead Light”) and explore options for schedules, timers, and scenes.
“As a smart home enthusiast and expert, I’ve seen countless switches come and go. Meross stands out by consistently delivering reliable, feature-rich smart switches at a price point that makes smart lighting accessible to everyone. The key is understanding the installation basics, especially that neutral wire!” – Alex Chen, Smart Home Architect at QMSIT.
Troubleshooting Common Meross Smart Switch Issues
Even with the best smart switches, occasional hiccups can occur. Here’s how to tackle common problems with your Meross smart switch:
1. Connectivity Problems
- Weak Wi-Fi signal: Ensure your switch is within good range of your 2.4GHz Wi-Fi router. Obstacles like thick walls can interfere. Try moving your router or using a Wi-Fi extender.
- Changed Wi-Fi password: If you’ve updated your Wi-Fi password, you’ll need to reconfigure your Meross switch in the app.
- Metal faceplates: Metal can block Wi-Fi signals. If you’re using a metal faceplate, consider switching to a plastic one for better performance.
- Router settings: Some routers have advanced settings (like band steering or AP isolation) that can interfere with smart device connectivity. Consult your router’s manual or ISP if issues persist.
2. App Control Failures
If your Meross app isn’t controlling the switch:
- Check internet connection: Ensure your phone has an active internet connection.
- Restart app/phone: Sometimes, a simple restart of the Meross app or your smartphone can resolve temporary glitches.
- Restart the switch: For US versions, locate and press the physical restart button on the switch.
- Factory reset: As a last resort, press and hold the power button on the switch for 5 seconds to restore factory settings. You’ll then need to re-add and reconfigure the device in the Meross app.
3. Physical Switch Malfunctions (Especially 3-Way)
- Incorrect wiring: For 3-way switches (like the MSS570), incorrect connections of traveler or load wires are common. For example, if all brightness LEDs are flashing and you can’t control the lights, you might have connected Traveler-1 from the master switch to Traveler-2 on the add-on switch. Reversing T1 and T2 wiring positions on the add-on switch should resolve this. If the light turns off automatically, you might have connected the load wire to T1 on the add-on switch; reconnecting it to Traveler-2 can fix this. Always re-verify wiring against the provided diagrams.
- No LED light/no power: Double-check that the neutral and live wires are properly connected. Ensure the circuit breaker is on.
- Power cycle: Sometimes, simply turning the circuit breaker off and on again can resolve unresponsive switches.
4. Firmware Update Errors
- Stable internet: Ensure you have a stable internet connection during firmware updates.
- Proximity to router: Move the smart switch closer to your Wi-Fi router if updates consistently fail due to connection issues.
- Factory reset: If an update gets stuck, a factory reset followed by re-pairing might be necessary.
Integrating Meross Switches with Your Smart Home Ecosystem
The real magic of Meross smart switches shines when integrated into your broader smart home ecosystem.
- Voice Control: Once paired with Amazon Alexa, Google Assistant, or Apple HomeKit, you can use simple voice commands to control your lights. “Alexa, turn on the kitchen light” or “Hey Google, dim the living room to 50%” become everyday phrases.
- Routines and Automations: Leverage the capabilities of your smart home platform to create powerful automations. Set lights to turn on automatically at sunset, or trigger a “good morning” routine that slowly brightens your bedroom lights along with your smart blinds.
- SmartThings Integration: For SmartThings users, Meross switches can become part of complex scenes and automations, working in harmony with other Zigbee or Z-Wave devices in your setup.
- Matter Compatibility: With increasing support for Matter, Meross switches are becoming even more versatile, promising easier setup and broader interoperability across different smart home platforms.
Meross Smart Switch vs. The Competition: Value for Your Dollar
When considering a smart switch, you’ll encounter numerous brands. Meross often stands out for its exceptional value proposition, especially for those seeking an affordable entry point into smart lighting.
- Meross vs. Kasa: Kasa, another popular Wi-Fi-based brand, often offers slightly more polished app experiences, but Meross frequently wins on price, especially for single-pole setups.
- Meross vs. Wemo: Wemo switches might present a sleeker design, but Meross typically provides better value, particularly when you’re outfitting multiple switches.
- Meross vs. Lutron Caseta/Leviton: Premium brands like Lutron Caseta are renowned for their rock-solid reliability and proprietary hub-based systems, offering near-instantaneous responses and exceptional stability, but at a significantly higher cost. Leviton also supports a wider array of platforms including Matter and HomeKit with robust features. Meross positions itself as a robust, affordable Wi-Fi alternative, often performing above its price point, though some users might experience occasional Wi-Fi-related glitches that more expensive, hub-based systems often mitigate. If 100% infallible performance is your top priority and budget is no object, premium brands might be for you. However, for a fantastic balance of features, reliability, and cost-effectiveness, Meross remains a top contender.
Conclusion
Meross smart switches offer an accessible and effective way to bring smart lighting into your home. Their affordability, hub-less design, and broad compatibility with major smart home ecosystems make them an excellent choice for both beginners and experienced users. By understanding the installation process, ensuring a neutral wire is present, and knowing how to troubleshoot common issues, you can confidently integrate Meross smart switches to create a smarter, more convenient, and energy-efficient living space. So go ahead, illuminate your world with the intelligence of Meross, and take control of your home’s lighting like never before!
Smart home that does not lock you in
Free PDF — protocol compatibility matrix for 30 hubs and devices.